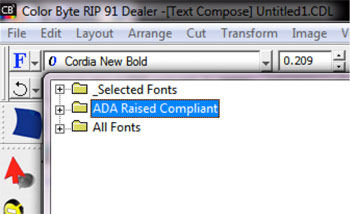
If you have hundreds of fonts installed on your computer – or dare we say thousands – it may take some time to discover which fonts are ADA-compliant and which ones aren't. By following these simple steps, you can set up and organize a folder that automatically houses all of the currently compliant fonts on your computer, making things much easier from a design perspective.
1. Open Color Byte.
2. Select the Text Tool and then the ADA Raised Text tool.
![]()
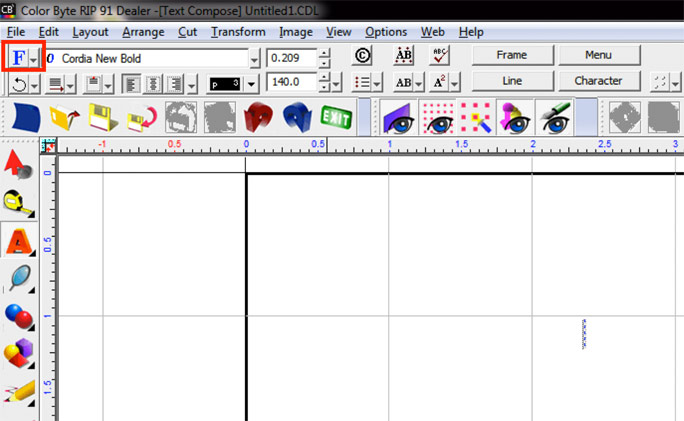
3. Click into the Sign Blank area and then select the Font Detective Icon.
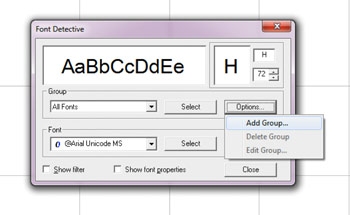
4. Select Options and Add Group… to open the Add Group Dialog Box.
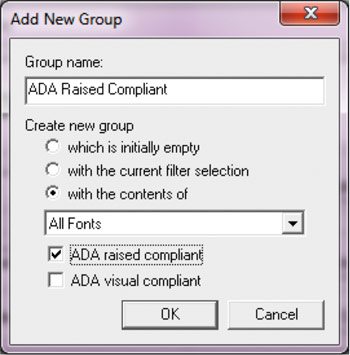
5. Give the Group a name and select With Contents of All Fonts. Then check ADA Raised Compliant; this will search through all installed fonts and sort all ADA raised compliant fonts into this new group. Select OK to return to the Font Detective dialog.
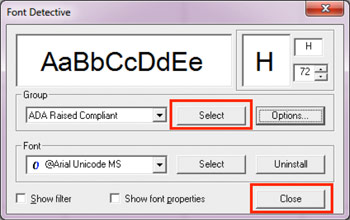
6. The newly created group can now be viewed. Click on Select and then Close.
7. Now, when going into the font drop down, list the new group can be seen. Select the ![]() next to the folder to expand the group and view all ADA Raised Compliant Fonts.
next to the folder to expand the group and view all ADA Raised Compliant Fonts.
