During the initial installation of Color Byte, the installer will automatically install third-party (Adobe Photoshop, Adobe Illustrator and CorelDraw) plug-ins if those applications are found on the PC at that time. However, there may be instances when third-party applications are added after the Color Byte installation, or when they need to be removed and/or upgraded. If this is the case, there is a method for installing only the plug-ins, preventing the user from having to uninstall the entire software program.
1. Navigate to the contents of your dongle. (If you have a purple dongle instead of an orange dongle, you will need to obtain the Color Byte software installer from the DCS FTP site. Ensure that the version of installer you download matches the version of the software installed on your PC.)
2. Select the ColorByte_RIP91_Build3 Folder (version may vary depending on users).

3. Follow this path:ColorByte_Rip91_Build3\Installer\CBRP91_B3_1330D_Q513\CBRP91_B3_1330D_Q513\Queue
4. Contained in the Queue folder is the setup.exe file to install only the RIP portion of the software and/or just the plug-ins.
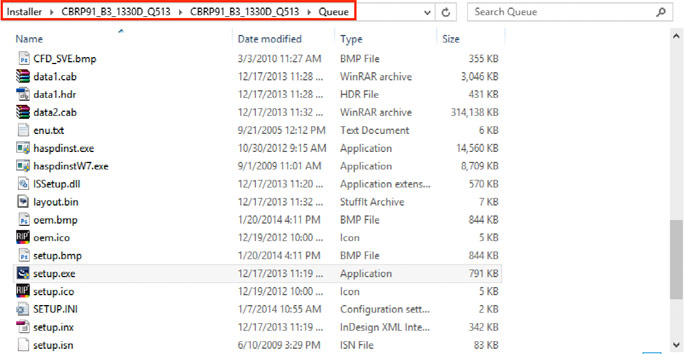
5. Double-click the setup.exe file. (Be sure all instances of the Color Byte software are closed.)
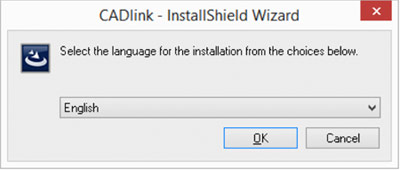
6. Choose your desired language then select OK.
7. Be sure that your dongle is inserted.
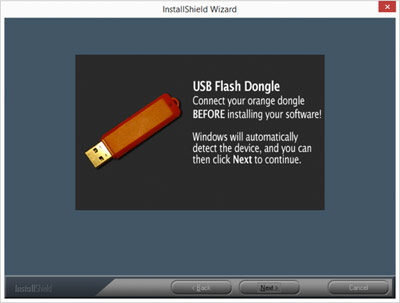
8. You will now have to navigate to your license files. Select Browse... When prompted to insert a CD, click Cancel. (Warning: your CD/DVD tray will eject. Ensure there is nothing blocking the tray from ejecting).You will now have the opportunity to browse to your license files.
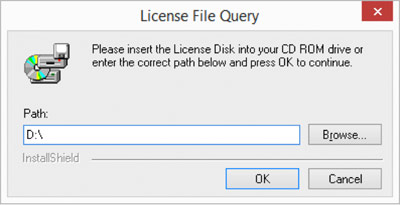
9. After the license files are located, click OK and the install wizard will begin. Select Next, then read and accept the terms.
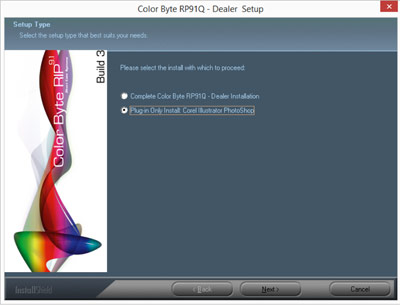
10. Now you can select your Setup Type. Choose the Plug-in Only Install: Corel Illustrator Photoshopand click Next.
11. When the destination screen appears, select Next. This will install a folder called Color Byte VPM into the C: drive.
12. When the installation is complete, select Finish.
The plug-ins should now appear in your third-party application. In some cases, when sending a file to the RIP from one of these applications, no queues will appear in the select queue dialog box. Following is an example:
1. After choosing Send To, this dialog box appears so the user can select a queue. As you can see, this dialog box does not contain anything. This is because the plug-in is looking for the recently installedcolor byte VPM folder, which does not contain any queues. Select Browse.
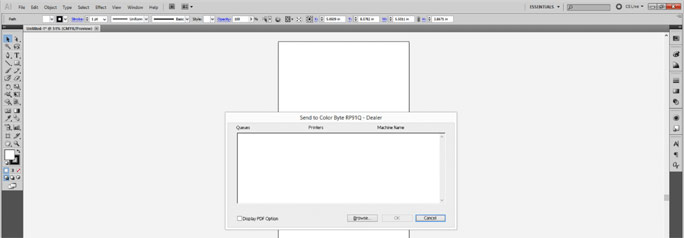
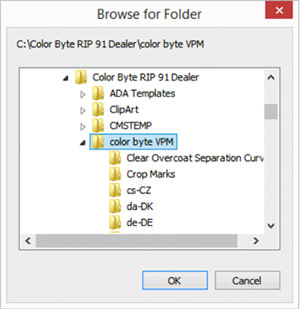
2. Navigate to the color byte VPM folder found in the root folder of the Color Byte software (C:\Color Byte RIP 91\color byte VPM) and then select OK. The queues will now appear in the dialog box.
